Watermelon Birthday Cake & Party

One of the great things about having so many girls is that it means even more birthdays. More birthdays mean more excuses for parties and cake!
Sometimes that means wondering what the next theme will be, but somehow, a comment is always made or a picture is seen or personality trait is shining….and suddenly, all the pieces start coming together. Before we know it, the cake is planned and an entire party theme has been born.
This party was no different. Instead of being “just a special cake,” it turned into a full fledged “picnic party.” There’s a picnic basket, picket blanket/tablecloth, watermelon trays for chips, sandwiches, bubbles, and watermelon…both of the real and cake varieties.
So the page doesn’t take forever to load, check out the summery flower collage below. As usual, mouse over them to pop up a larger version or see all of them in their full-sized glory in the QuirkyCookery PB album.
Here are some of my favorite moments, stories, and pictures of the day:
My mom is going to hate me for posting this picture. And yes, hate is still considered a “bad word” so I’m going to surely get in trouble for that, too, but she’ll agree as soon as she catches wind that I had the nerve to post it:


Totally worth it. The left is cleverly posed so that her face won’t be shown, but the look of sheer shock and disgust as my sister licks the icing ‘mistake’ of her hands is one I can’t possibly censor with black bars. Golden.
If it makes you feel any better, I do often take the time to edit pictures so that nobody is left looking bad. I mean, like this gem:

Who would want that posted publicly, right? Oh wait…. ;)
Anywho, I’m this far into a birthday party post and you haven’t even seen the birthday girl yet! This is N from 2009, pre-party:

Yes, covered in dirt, holding her ears, and waiting patiently for someone to come and retrieve her for cake time. You haven’t forgotten our tradition, right? Note to self…I have a video of this tucked away that I should upload, too.


And in case no one believed me that the cakes and party scene are kept a complete secret, there’s an example of a (very ugly) covered doorway to prevent peeking, too.

Even she doesn’t want to peek, and she’s sitting at the table! The anticipation is a wonderful thing. <3 Oh, and to the far right of that picture is an example of a themed present, too….watermelon scented body wash and shampoo.

^ The “sweet innocent one”….until she gets food. :P
And in case you don’t click through to the rest of the pictures like you should, here’s the inside of the cakes.


White/red cake for the chocolate haters and chocolate for the rest of us, mmm. Take note of how realistic she made the rind icing, too….it’s squiggly/wavy/textured all the way down like the lines of a real watermelon.
Football, baseball, basketball – What shape is a strawberry?

Obviously all three, right? And these chocolate covered strawberries could easily be tennis ball shaped, too, or just about any other ball that has distinct markings that could be drawn on. Nobody cares what the actual shape is.
According to Lori from RecipeGirl, these are an absolute hit, too. From an online store, these will cost you a whopping 25 bucks for only 6 of them, but it’s guaranteed you can make them yourself for a lot cheaper with the same results.
Orange biscotti mohawks

It’s rare that I post recipes here, but once upon a time while I was still figuring out what I wanted this site to be like, I actually did take tutorial-type pictures and hold onto new recipes I tried in order to share them. (Don’t panic…I won’t bore you with a full-on tutorial.)
This is an example of one of those days. It was another cold day in January 3 years ago, not long after the duck butt ordeal, and I had discovered biscotti. Now it’s not the first time I had ever had it, but it’s the first time I’d made it and known it by a real name. Apparently “those hard, crunchy things you eat with coffee” isn’t what they’re actually called.
So before the girls got home, I hunted down a decent looking recipe, zested and mixed, baked and baked, and then rebaked again, and got the hot chocolate all ready to go….

Oooo, this is from a time before I fell head over heels in love with my Kitchen Aid mixer.

Mixing in the eggs until everything is extra fluffy is always key. Well, or it’s just fun. Whatever.


I have no idea why I had a picture of a lime, by the way. This is strictly an orange biscotti recipe. I’m sure there was something significant back then, but not so much now. Maybe I was excited by it looking more like a golf ball? Or maybe it was a particularly huge one, but I didn’t think to place something next to it for size perspective? Who knows…but hey look, it’s a lime! /random

^ How not to zest an orange, by the way. You shouldn’t see nearly as much white because that means all the white pithy stuff is getting into your food, too. But guess what? I didn’t have a zester at that point and used a knife….so I sliced off thin pieces and then scraped off as much white as I could and chopped away. Go back to the zesty mix picture and you can see that it almost looks diced.
Work with what you’ve got….another life skill from my mom. Wait until I bring out the duct tape. ;)


Those? Those are fingerprints. Like…full on indents of my entire fingers across each log to press them into the right shape. I was hoping you could see them in the final product, but not so much.


^ Not done. This is the point where you cook them until solid and hard, but after you slice them, flip ‘em on their sides and bake until they’re that extra crunchy dip-worthy biscuit people seem to love.


And then coat them in sugary goodness so they taste decent. In this case, I went with chocolate. Lots of chocolate…

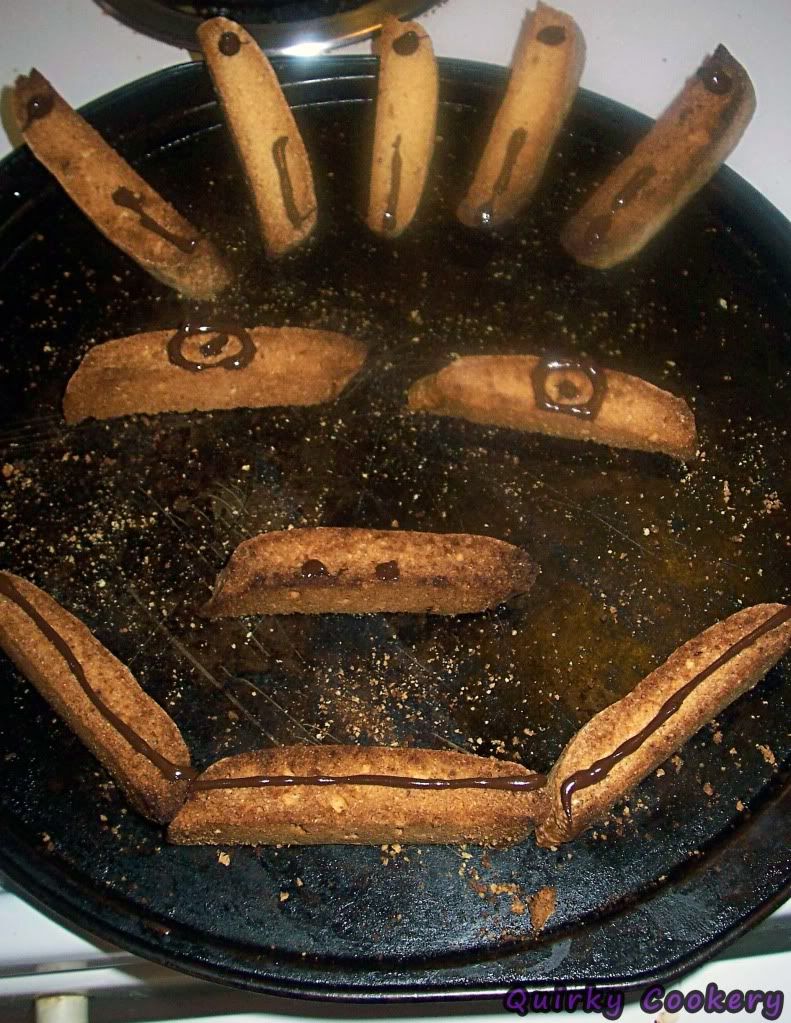

Obligatory funny faces!
Here’s the recipe for you guys who actually follow them to a tee. I didn’t, though, I’m sure, so don’t blame me if yours don’t pop out of the oven all smiley and fun. ;)
Ingredients
- 1 cup all-purpose flour
- 1/2 cup white sugar
- 1/4 teaspoon baking powder
- 1/4 teaspoon baking soda
- 1/4 teaspoon salt
- 1 egg
- 1 egg white
- 1/2 cup chopped almonds
- 2 tablespoons orange zest
- 4 (1 ounce) squares bittersweet chocolate
Directions
- Preheat oven to 350 degrees F (175 degrees C). Grease a cookie sheet.
- In a medium bowl, stir together flour, sugar, baking powder, baking soda, and salt. Beat in the egg and egg white, then mix in almonds and orange zest. Knead dough by hand until mixture forms a smooth ball.
- Roll the dough into a log about 10 inches long; place on the prepared cookie sheet. Press down, or roll with a rolling pin, until log is 6 inches wide.
- Bake for 25 minutes in preheated oven. After baking, cool on a rack. With a serrated knife, cut into 1 inch slices. Place slices, cut side down, back onto the baking sheet.
- Return them to the oven for an additional 20 to 25 minutes; turning over half way through the baking. Melt the chocolate over a double boiler or in the microwave oven. Allow chocolate to cool but not harden before dipping one side of the biscotti into it. Place cookies on wire racks, chocolate side up, until cool and dry.


Recent Comments