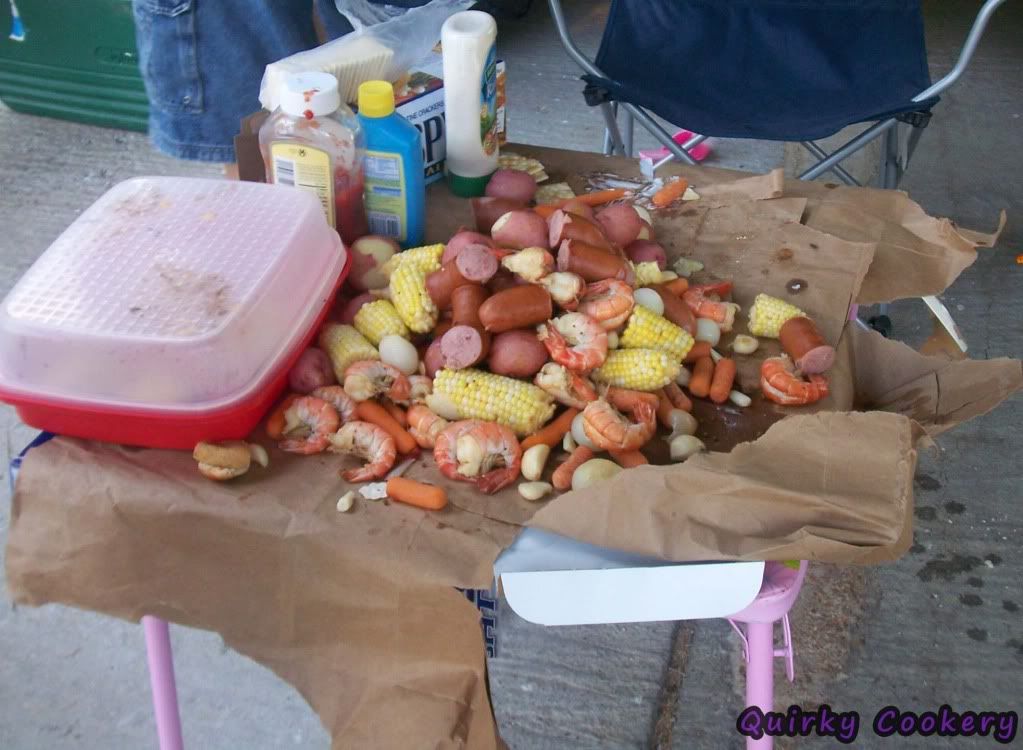
I had never even heard of a “shrimp boil,” much less been to one. I wasn’t even sure what to expect, but whatever…it was a party invitation with new friends of the family and really, when have I ever turned down the chance at food?
If you don’t know what it is either, it’s often times with crawfish (crayfish? crawdads? craw daddies?) and is mostly associated with Louisiana or at the very least, the coast.
Wikipedia is happy to explain more:
A boil is usually done in a large pot (60 to 80 quarts) fitted with a strainer and heated by propane. However, some traditionalists see no need for a strainer and make use of a net or a wire mesh scoop. Seasonings include crab boil packets, cayenne pepper, hot sauce, salt, lemons, and bay leaf. Ears of corn, new potatoes, onions, and heads of garlic are usually included in shrimp and crawfish boils. Some people will add smoked sausage links and/or mushrooms. (….) The contents of the pot are removed, drained, and then dumped onto a newspaper covered table. (…) Bottles of hot sauce, lemons and melted butter are usually available
I didn’t know any of this beforehand, so it was quite new for me. Watching the guys rip open ‘alcoholic beverage’ boxes and bags for the serving platter and dumping food everywhere was….well….spectacular.
I know it’s silly, but I love that! Nothing fancy. Nothing scheduled or concrete or any special way that something has to be eaten. Just dig in!
We learned lots that night actually, and the pictures will teach you about a great party way better than I can with words, so enjoy:
(Oops, sorry it’s blurry…old camera)
Friends and family are key. I don’t remember how many people were there, but everyone acted like they knew each other, even though some of us were clueless. A great party should feel like you’re hanging out in your PJs with family, even when it happens to be coworkers, too.
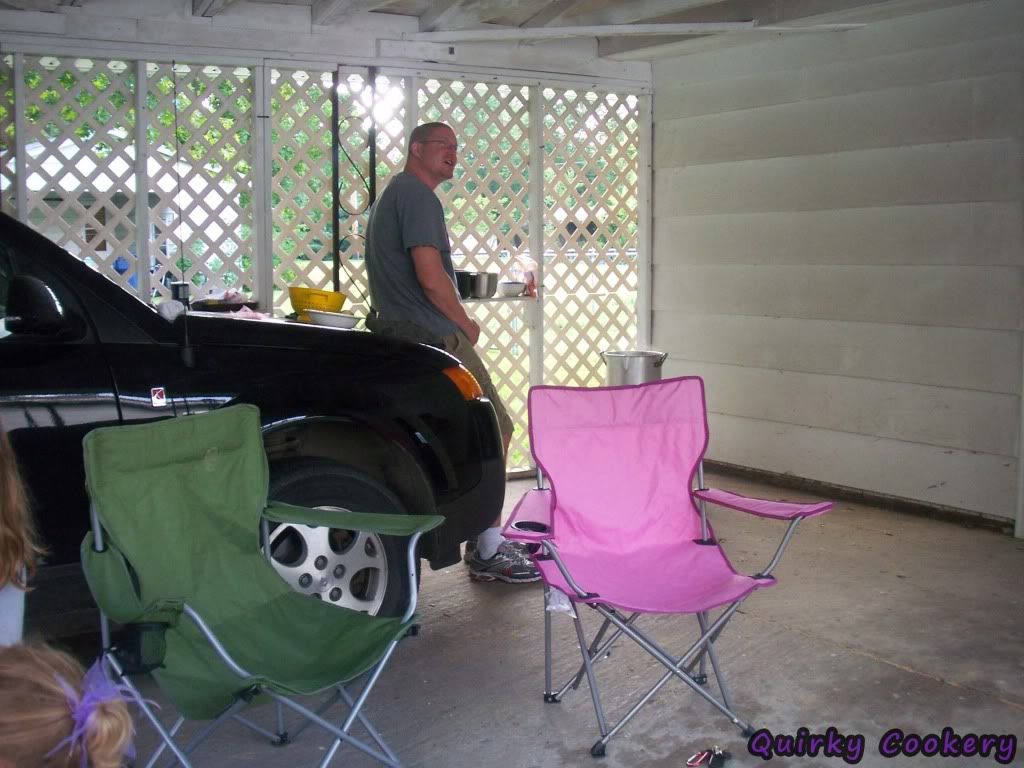
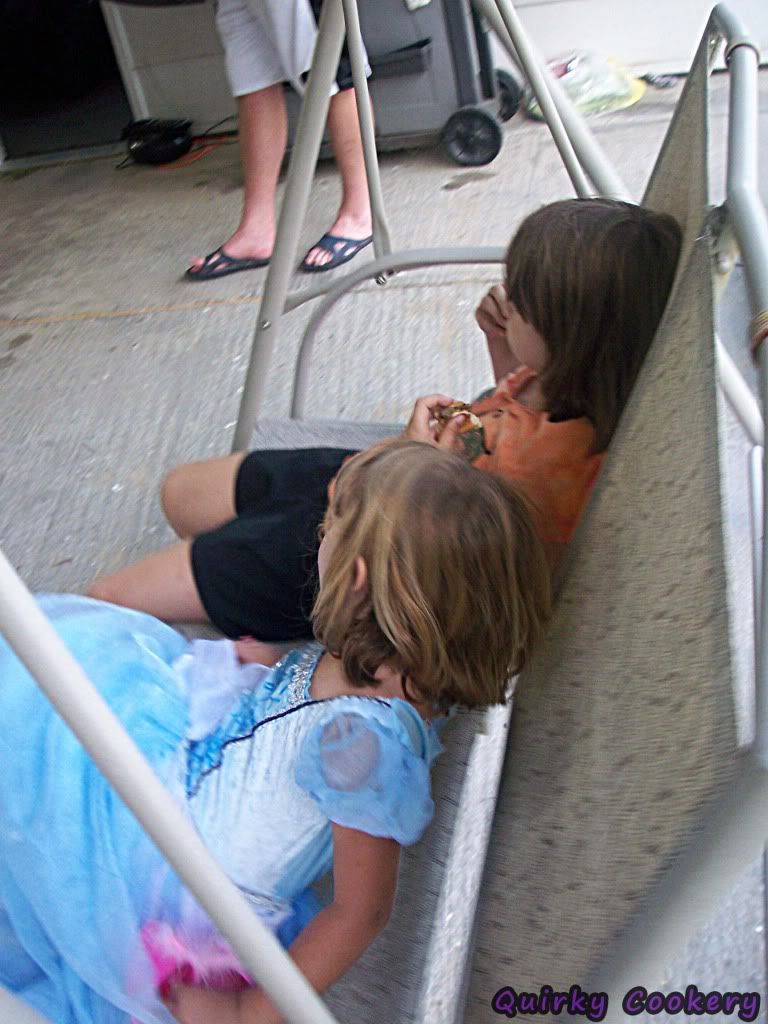
Seats should be aplenty, but musical chair should be encouraged. Adults and kids alike were all over the place, running about or playing games, but there was always a seat ready to be taken when feet needed a break.
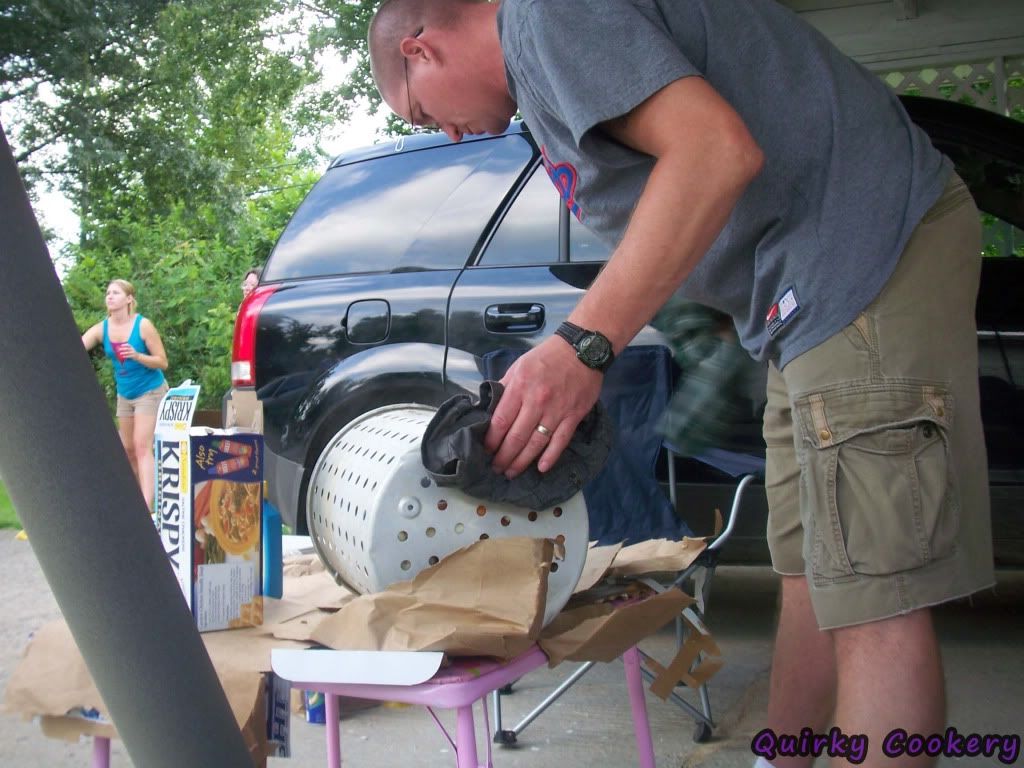
Oh, and on the left, there, that’s the Boil Master. He’s in charge of manning the pot, making sure the ingredients go in at the right time, and keeping anxious fingers at bay.
Potholders are key. The basket is hot and you don’t want to waste any time with burned fingers unless it’s from popping open shrimp!
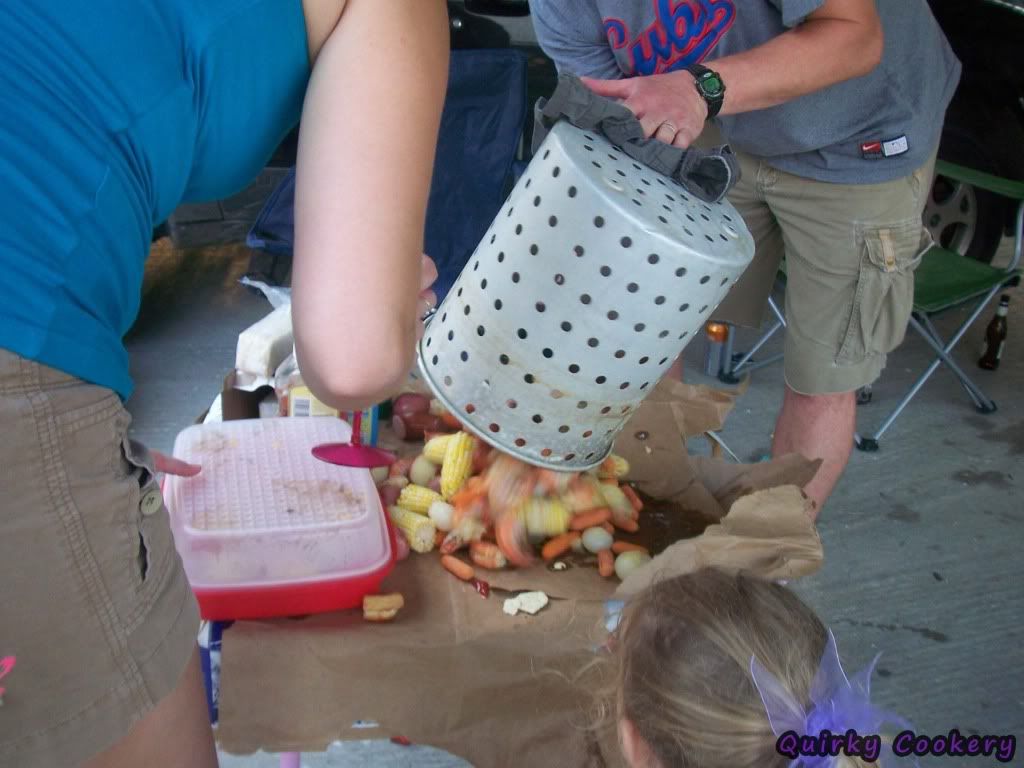
Dump away!
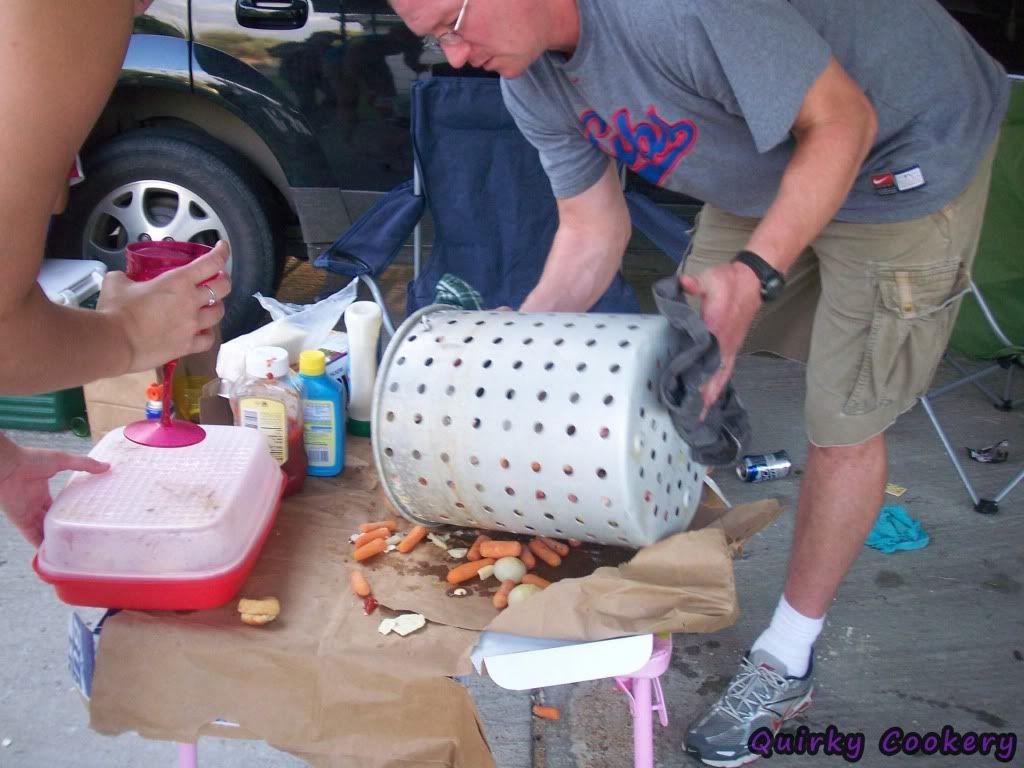
It might look like there’s a helping hand involved there, but really, there’s just a line of people waiting to dig in and as soon as he backs up, they’ll crowd the table from all directions.
This is actually a picture from the second or third round, as evidenced by the carrots left behind from the previous go and a fresh batch going on top.
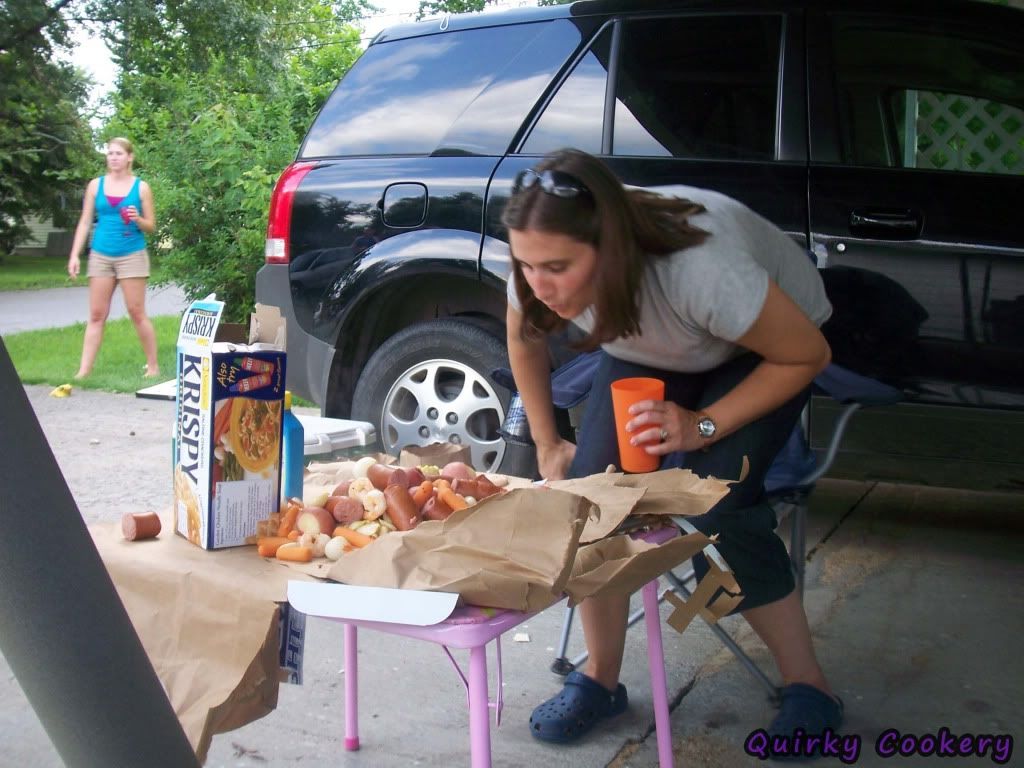
Blowing on it really isn’t going to help, but if you’re hungry and impatient, you can try, hehe.
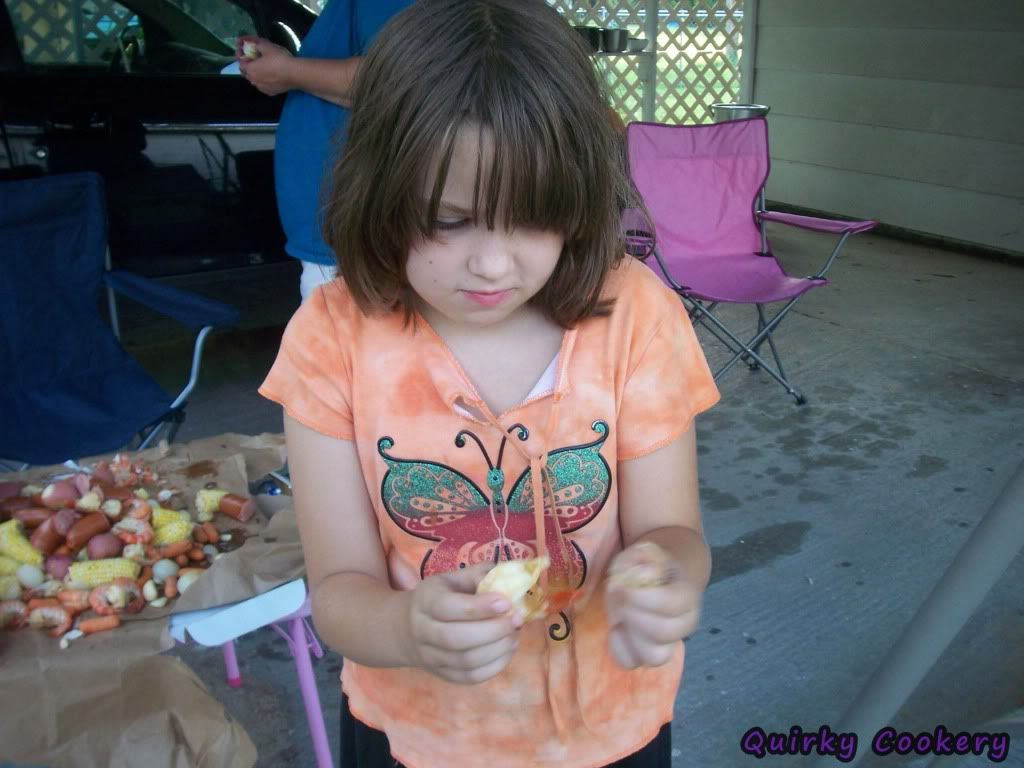
Learning to peel your own shrimp can be hard…and gross even.
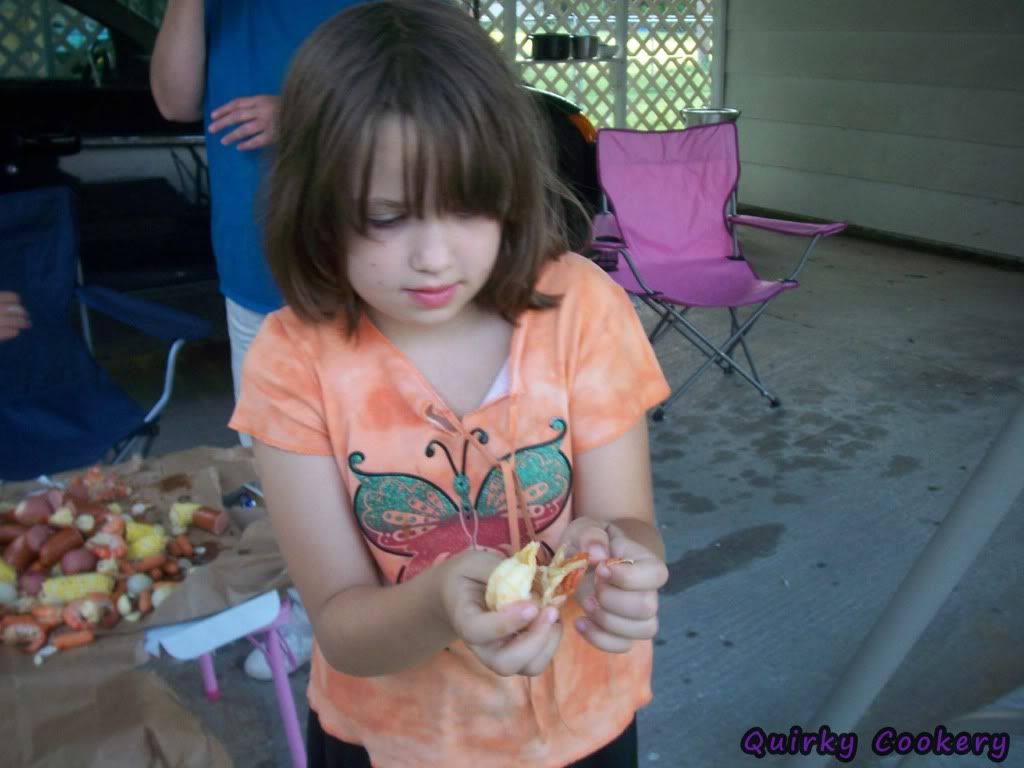
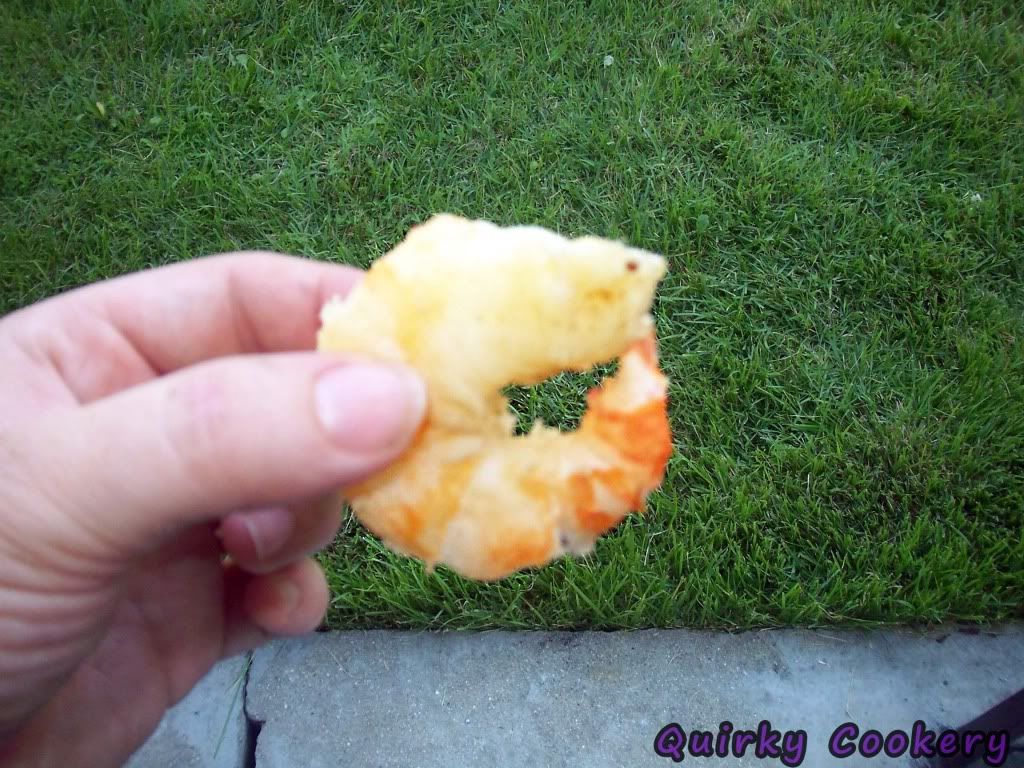
But the success is so worth it. Even the shrimp will be smiling by the end. :)
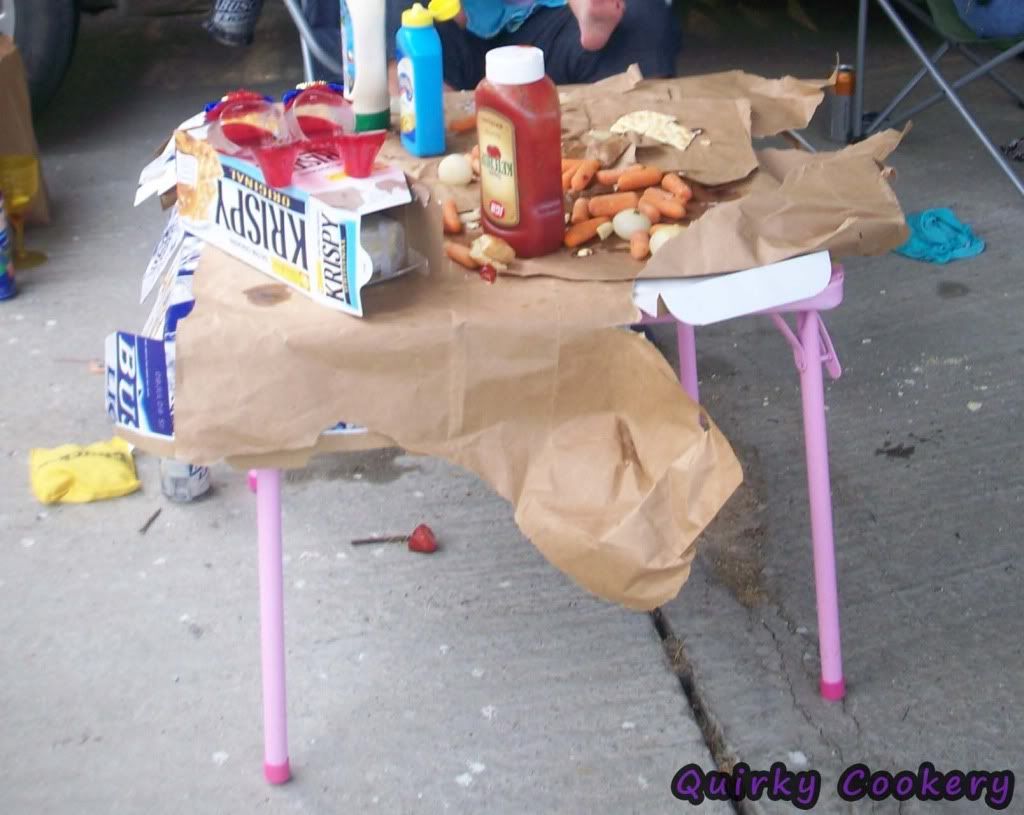
Ketchup, ranch dressing, squeezable butter and crackers should all be arranged on your best pink kids’ table. The crackers are perfect for the whole garlic clovers that will melt in your mouth or to pair with the butter while you’re chomping at the bit, waiting for the next round to come out.

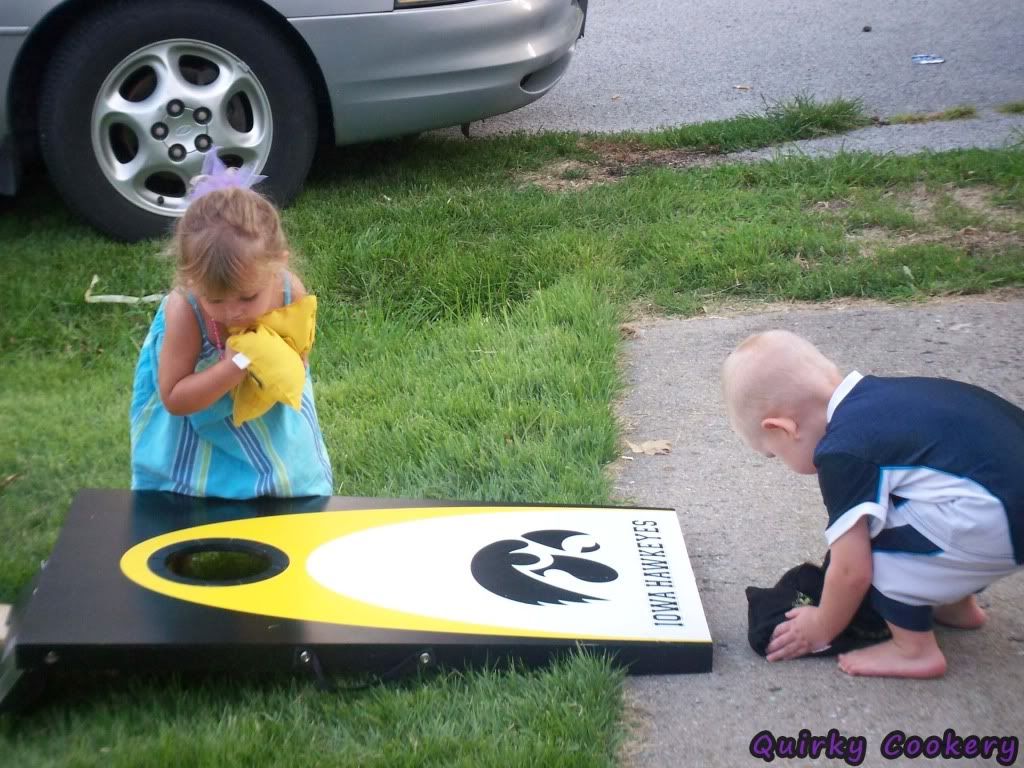
Bags/corn hole can be a backyard blast, especially if you have little helpers in between. Horse-shoes could be fun, too, but watch out for little toes.

If accidents do happen, make sure you have a big sister around to comfort you. They’re the best.

Princess shoes are optional, but highly recommended.
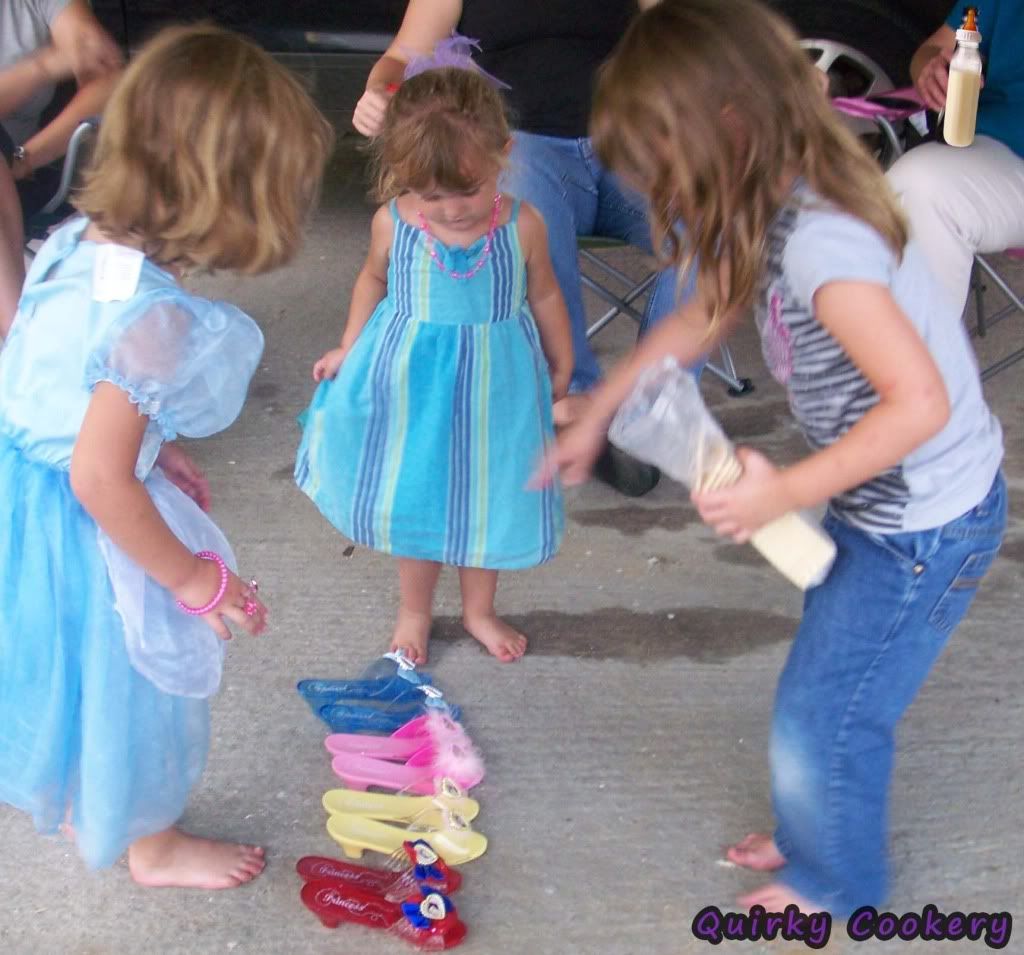
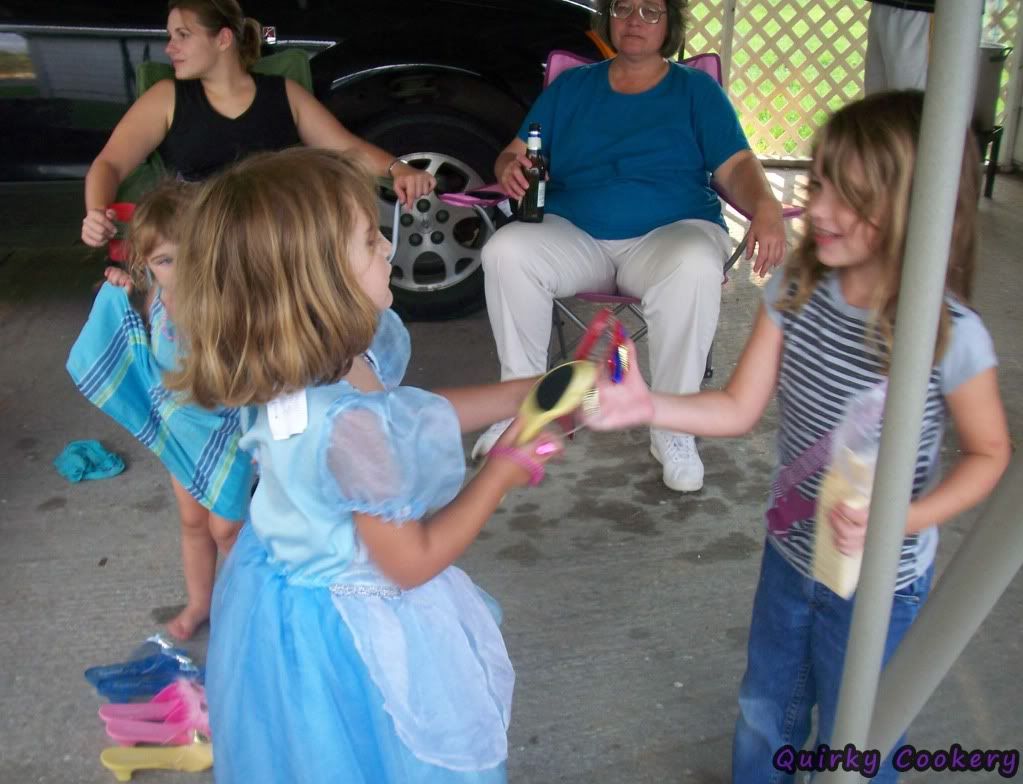
They entertain for hours, encourage sharing and trading….
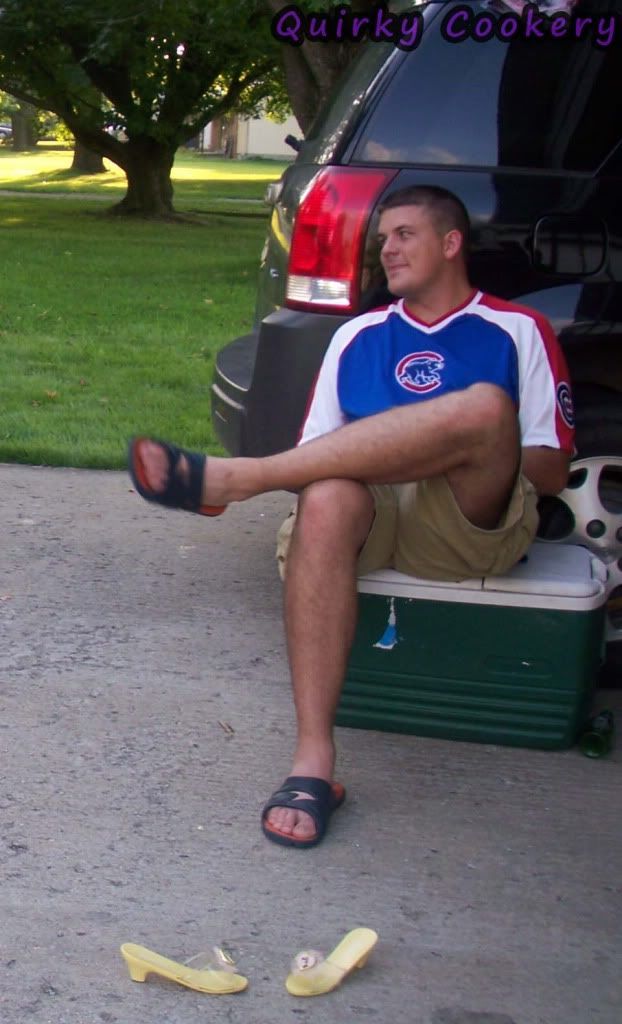
And really, even the big kids will love them. ;)


Just keep an eye out for runaway jeeps and princesses.
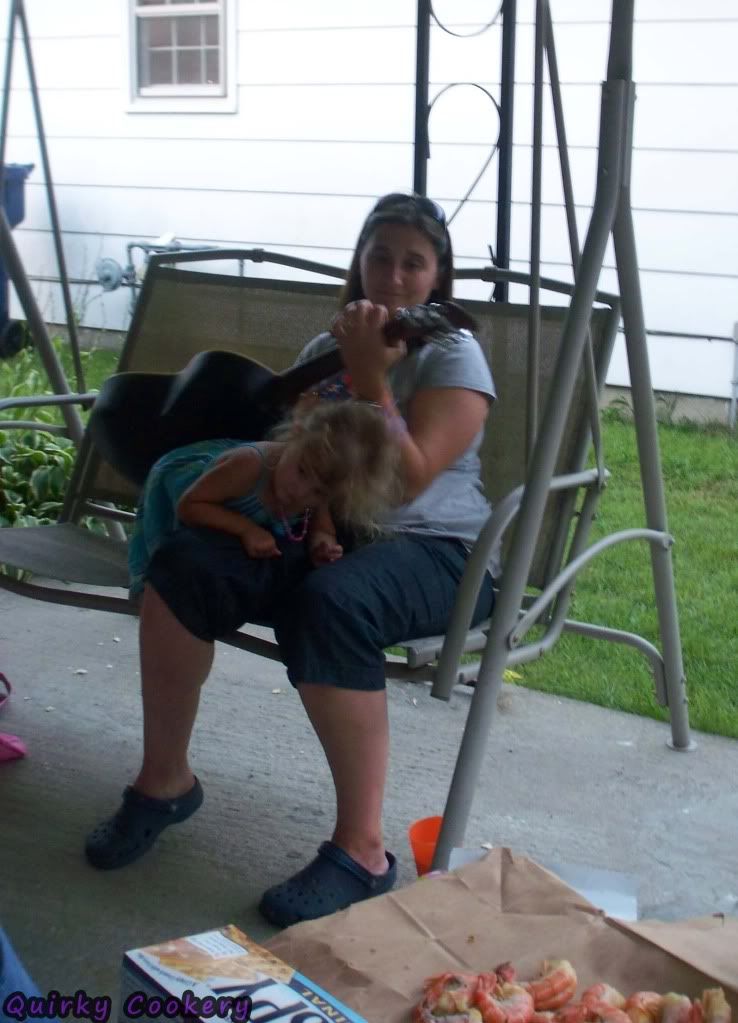

And at the end of the night, when bellies are full and everyone’s happy, there’s nothing better than impromptu music and curling up on mama’s lap. If you choose to do them at the same time, though, your mileage may vary…. ;)

This is another guess-y recipe, but another one that I used to make a lot circa 2009. It was sooo easy to just put all the cheeses together, pipe it into dozens of partially cooked jumbo shells.
(Side note – When I was looking to see if I had posted about these yet, I realized I have more posts marked as “
jumbo” than I would’ve expected. Aiming for “larger than life” much?)
I looked up a recipe for you so I’d have the right proportions listed, but really, I just used whatever I had. No mozzarella? Let’s go with cheddar. No cottage cheese? Cream cheese it is then… At one point, I kept catching plain yogurt on sale and even that would get added for the creaminess. It’s a catch-all recipe that works with whatever you have.

You can use the pre-grated parmesan
shaker cheese if you want, but we prefer buying the block. If you’re going to use a shredder like this instead of a microplane, though, then watch out for shredding your palm, too. Not that I’d ever do anything like that…

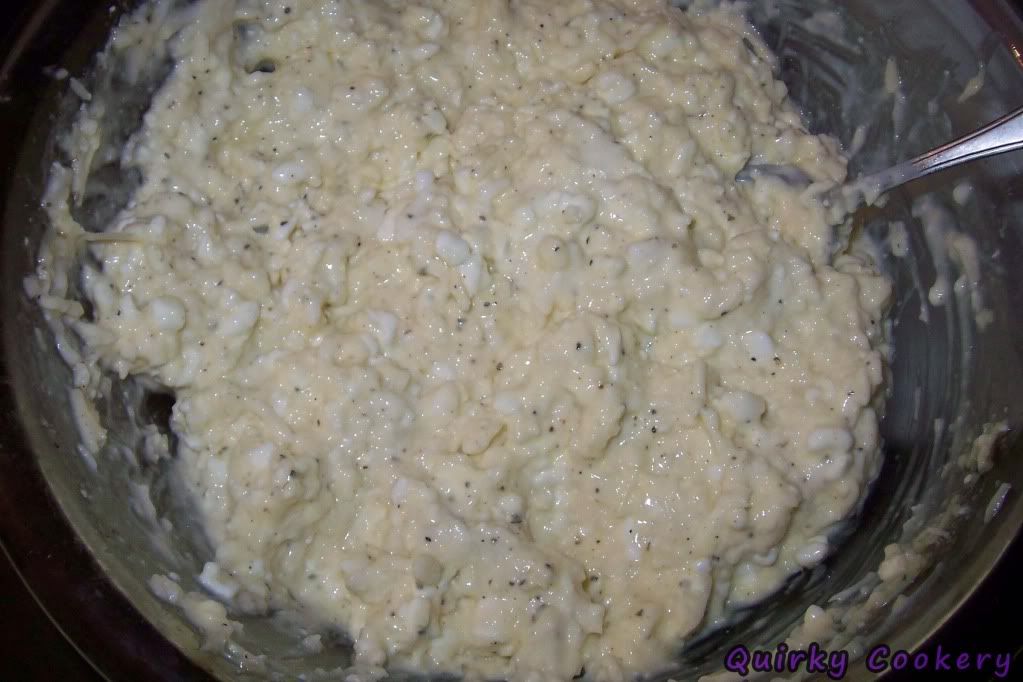
Am I the only one that finds these pictures appetizing? More than likely….but I also know what it tastes like in this form and it is delicious. Cheese, cheese, and more cheese, mmm.

Do not skip the step of writing the instructions on the bag. Sure, you probably assume you’ll remember the temperature when you’re ready, but chances are, you won’t. But hey, if you do, this is pretty forgiving considering the shells are already partially cooked and the filling only needs to be cooked enough to heat the egg and melt the cheese.
3 cheese stuffed jumbo shells
- 1 (16 ounce) package jumbo pasta shells
- 4 cups large curd cottage cheese
- 12 ounces mozzarella cheese, shredded
- 1/2 cup grated Parmesan cheese
- 2 eggs, lightly beaten
- 1 pinch garlic powder
- 1 teaspoon dried oregano
- 1 teaspoon dried parsley
Cook shells according to package MINUS about 2 minutes cooking time. Toss in cold water to stop the cooking.
Mix filling and put into a gallon sized ziploc bag. Cut the tip and pipe filling into shells. I tend to double the filling recipe and then split it between 3 boxes instead of just two. Perfect for once-a-month-cooking plans again.
Place on a pan or two and then place in the freezer for an hour…or until you remember to pull them out.
When shells are a little more solid, place them all into a ziploc bag and freeze until you need them. When you’re ready to reheat, place in a casserole pan, cover with your favorite pasta sauce, and cook for roughly 30 minutes.
Or…. toss them in the microwave for a couple minutes, pour some sauce on, and call it a day. Either way works. :P








Recent Comments