
How to make your own fruit roll-ups or fruit leather

One of my many kitchen-related Christmas gifts (gasp! just realized I didn’t actually post about those either, oops), was a food dehydrator. Now it’s something I’ve wanted to experiment with before, but I never could justify the price for something I would probably only use occasionally and had very specific functions.
But to have one bought for me? Oh yeah, I’m gonna use it like crazy, hehe. And this bad boy came with both a fruit leather tray and jerky settings (also amazing, by the way).
I’m not a huge fruit leather fan, but making my own fruit roll-ups was a huge life saver when I started doing bento boxes and trying to cut out certain kinds of sugars and preservatives for us for a while. The kids loved it because it was like the candy they enjoyed otherwise….and I loved it because I knew I was using fresh or frozen fruit, which while yes, still has sugar, is also natural sugar with nothing extra funky being added. Win-win.
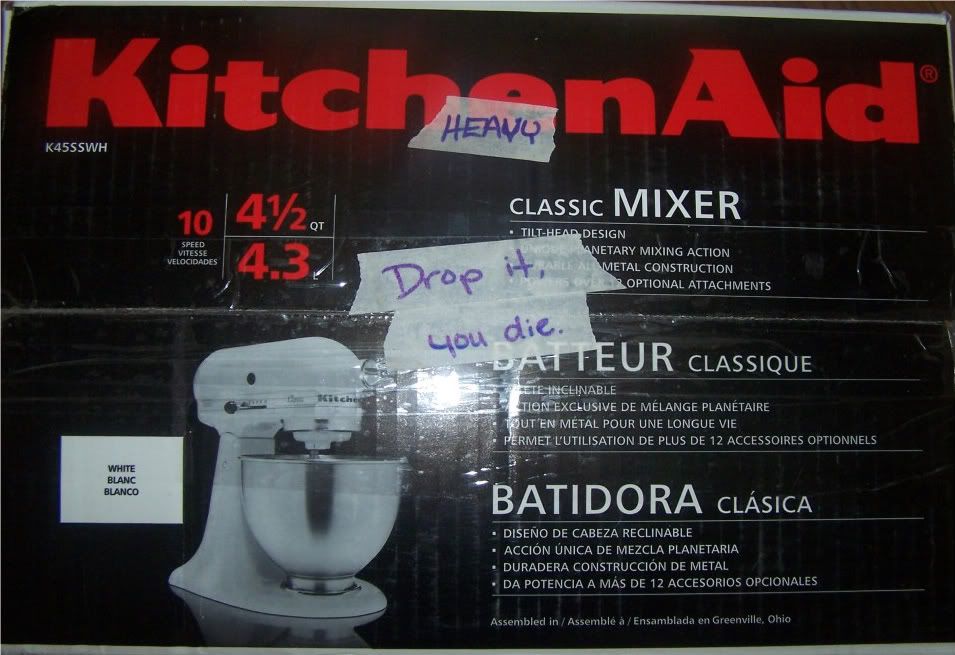
Another of my goodies for Christmas was a juicer attachment for my Kitchen Aid mixer, which was a perfect pair for making fruit leather. All I had to do was prep whatever fruits I was using (or better yet, grab a couple bags of frozen mixed berries and an apple, etc), put it through the juicer (didn’t even thaw the frozen ones), and voila.

See all that kinda chunky stuff on top? The “juice” it produced is all the liquid on the bottom, and the top portion is what I scooped out of the juice that was deemed “skins, pulp, seeds, hard frozen bits, whatever.” I could’ve tossed those out and used just the juice, but it mashed them so small that I opted to mix it all together and not lose any of the goodies for this combo.

Judging by the colors here, I believe this is a combination of two frozen bags of berries and fruits. The one bag would’ve had blueberries, blackberries, and raspberries, while the other would’ve had peaches, mangos, and possibly a bit of pineapple. The only possible stuff I might’ve wanted kept out would’ve been seeds from the berries, but you couldn’t tell in the dehydrated version anyway, so I’m glad I didn’t.
All mixed together, it was an awesome purple-y color.

Okay, bad example. Ew.
How about this one?

See all those little bits of blueberry skins and such? I thought they might pose a problem, but not at all.

As it started drying, the edges shrunk in and it looked moist across the top. I was a little concerned maybe it wouldn’t dry entirely or would end up with holes even if I let it dry too long, but nada!

When it was all done, it wasn’t quite as rich in color and as pretty, but it really did end up tasting just like fruit roll-ups and was gone in no time. I didn’t even bother slicing it and rolling it with plastic wrap like the commercial product because nobody cared….and just wanted more.
I did cut some small chunks and pseudo-roll them for the bento boxes, but they didn’t seem to stick to themselves much anyway.

I’ve made it a few times since with several different variations. I found recipes that called for sugar or corn syrup, but I found that with any combos that were on the bitter side, adding an apple was enough sweetness for a batch.


This is what frozen mangos, strawberries, and peaches look like. It’s obviously too chunky to spread, so I thawed it out until it was easier to mix into a paste-like mixture.

It dried much darker like in the upper right hand corner of this picture:

If you want to make your own, but you don’t have a dehydrator, it’s easy to just use your own. Try out this post from Simply Recipes for some help on doing it that way. She has some great tips on how to use fresh fruit, using lemon juice and various spices, and even a tidbit on straining the juice from grapes for grape juice and then pureeing the rest for fruit leather. Yum.
Mega-super-colossal monster chocolates

Looks like a normal box of chocolates, right? Well, minus missing one of the chocolates, but that’s not the point.

Point is, it looks innocent enough. The box even looks normal with lovely lace and a simple theme.
But when you open it? Holy smokes! These chocolates are no ordinary chocolates; they’re giants!

Okay, so they don’t look much larger than a quarter there, huh? Maybe a bit large, but not ginormous. Try again:

And -there- it is. Giganto-chocolates. Geesh!
I think I could’ve managed a few more words to say these were a bit bigger than normal chocolates, eh? Immense, jumbo, mammoth balls of chocolate. There. Now it’s overkill. And now I want larger, even more oversized, monumental chocolates, too. Too much? Okay, fine… :P
Too many peeps? Make peep sushi!
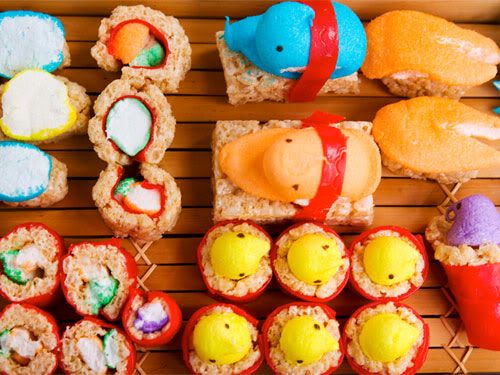
This is one of those dishes that I’ve held onto a bookmark of for quite a while. I wanted to make my own, but well, I just never did and Carey, Erin, and Grace did such a good job that I never would’ve been happy with my own results in comparison.
I wouldn’t have been as funny writing about them either. Here’s some of the things Grace had to say about the process:
- There is no wasabi. Same goes for ginger. Peeps are sassy enough on their own. (We tried smashing up a green Peep for a wasabi-esque condiment, but decided against this.)
- With glossy spreads from Masaharu Morimoto‘s The New Art of Japanese Cooking book out for inspiration….
- Execute six Peeps of your color choice by decapitation. Cut off more neck than you think is appropriate.
- (In the “you will need” section) Nimble fingers. Man hands might find this a wee difficult.
There’s even a suggestion of what temperature water to drink to make these go down best. I can’t imagine a better tutorial for peepshi.


Recent Comments