Some things can’t be explained – My Kitchen Aid was butterfied!
Sometimes, accidents happen.
Sometimes, I drop boxes of groceries everywhere.
Sometimes, the spaghetti goes flying. Or cookie cutters.
Sometimes, lids mysteriously fall off. Actually, more than “sometimes.”
Sometimes, glasses break and cups get stuck in garbage disposals.
This is not one of those times, though.
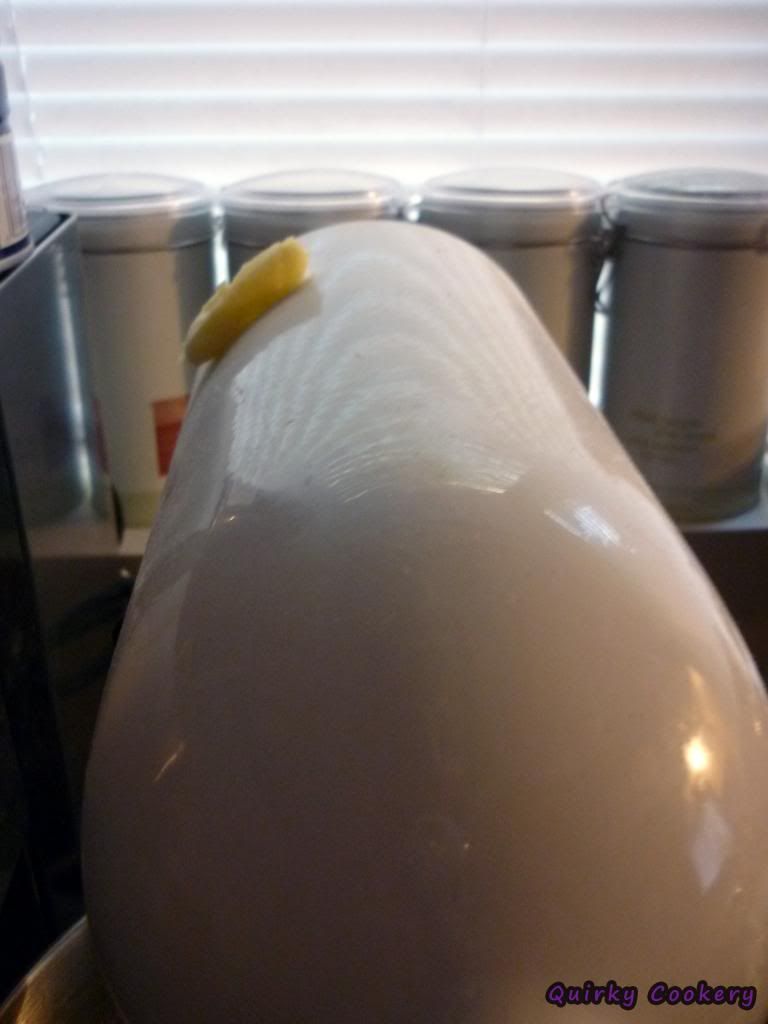
That is a pat of butter on my mixer. At this point in time, I hadn’t actually used my mixer in a couple months because I misplaced my paddle (yeah, THAT happens, too).
And because I was living in Canada, butter wasn’t exactly cheap….nor was any other type of dairy, for that matter. Don’t even get me started on cheese prices! But it meant that I very rarely used butter and when I did, it was in the tiniest quantities. My Southern roots were clearly disturbed by this and I put on 10 pounds in the first 2 months of being back in the States, just to make up for it, hehe.
Anyway…. the point is…. I don’t know where that butter came from. The mixer was untouched and my butter was rationed like crazy, so there’s no way I would’ve had out a pat of butter -that- size at any point. I especially wouldn’t have carelessly tossed it on the back of my mixer either! Butter was too precious for that kind of silliness!
So I left this mystery butter on my mixer for a couple days. I was curious if maybe it would slide off. Or more importantly, I was hoping that it might attract more random butter. Maybe my mysterious butter was merely a scout, checking out the area, and when the coast was clear, he’d tell his other butter pat friends that it was safe to come on down. My Kitchen mixer would become their new home planet and, after enough time, I could slowly pick off loner butter pats when they weren’t looking….
Clearly, I was going a little crazy without enough butter in my life, and unfortunately, this didn’t happen. I did, however, use said butter to fry some eggs a couple days later.
Hey, random butter is still fair game to use….
Pepperoni pockets – Which shape is best?
I clearly love cooking. I love being in the kitchen. I love trying out new recipes. I love creating new dishes or weird food art.
What I don’t love is doing it every single day.
I burn out really fast if I have to cook every day. Even if I’m just doing simple dinners every day or fixing my own lunch, I get lazy crazy fast if I do it too many days in a row. Then I don’t want to cook at all and I especially have no interest in playing with my food either because I want to get right back out of the kitchen as soon as possible.
So instead, I end up cooking a whole bunch at once and tossing half of it in the freezer or repurposing the ingredients for several dishes at one time. I used to do more of what the internet blogging world calls “once a month cooking” but I find it more realistic to simply do it when I have the chance…whether that’s once a month or every couple weeks or even just doubling up recipes when I’m cooking on one of those mundane “pasta for dinner…again” nights.
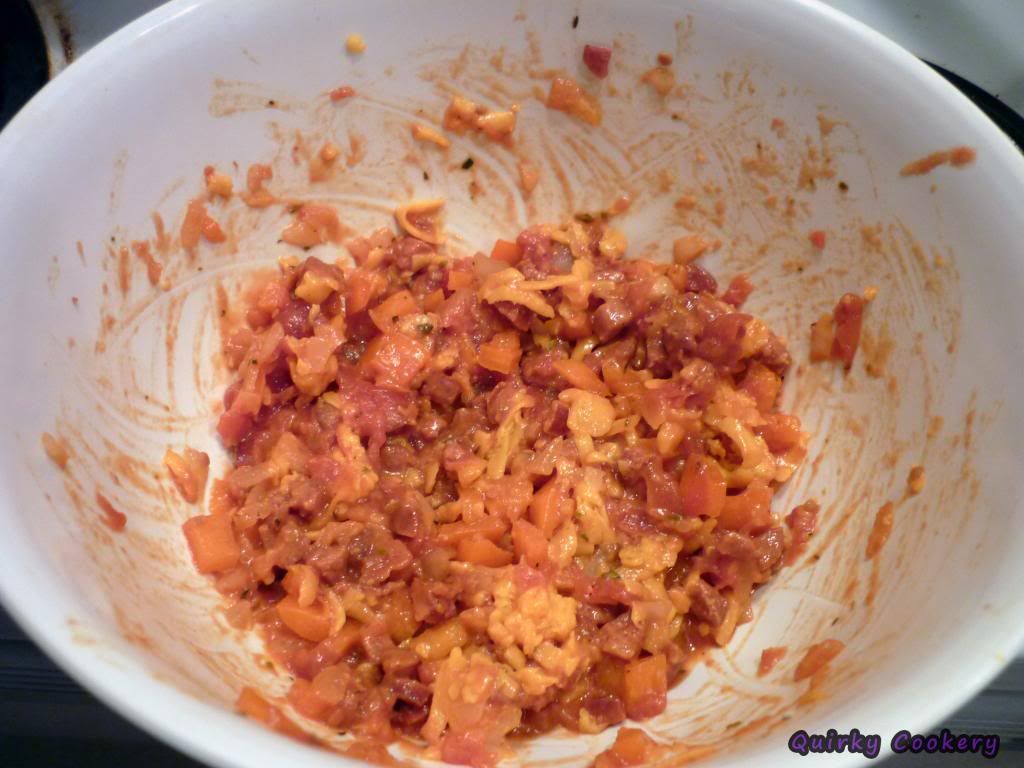
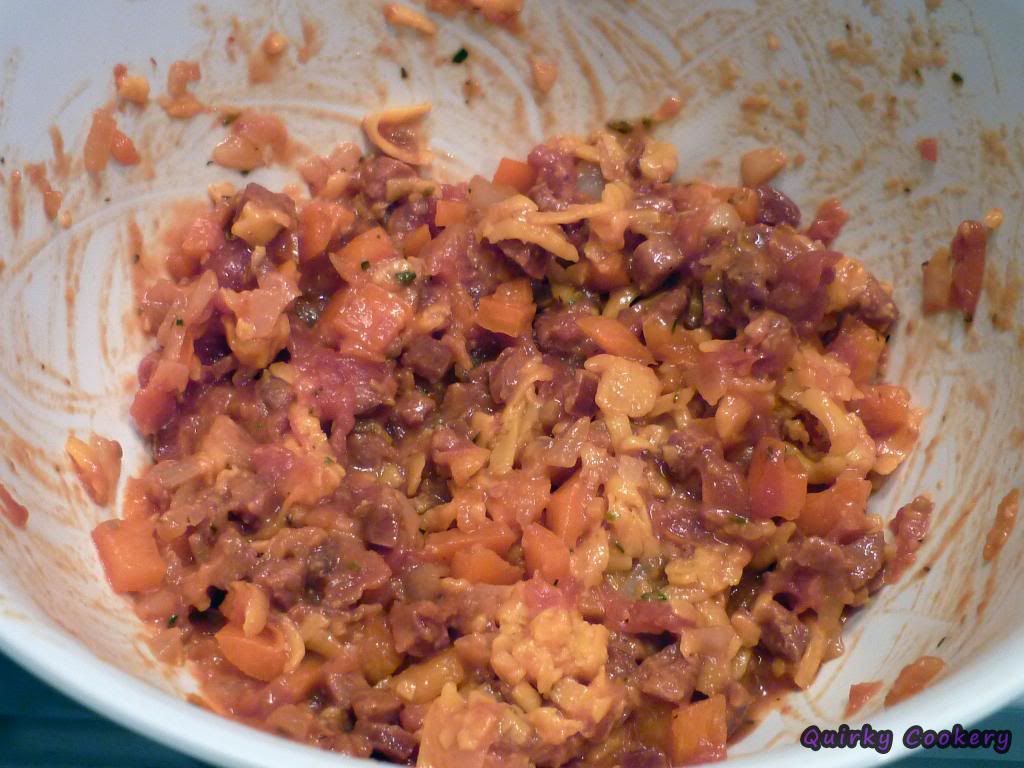
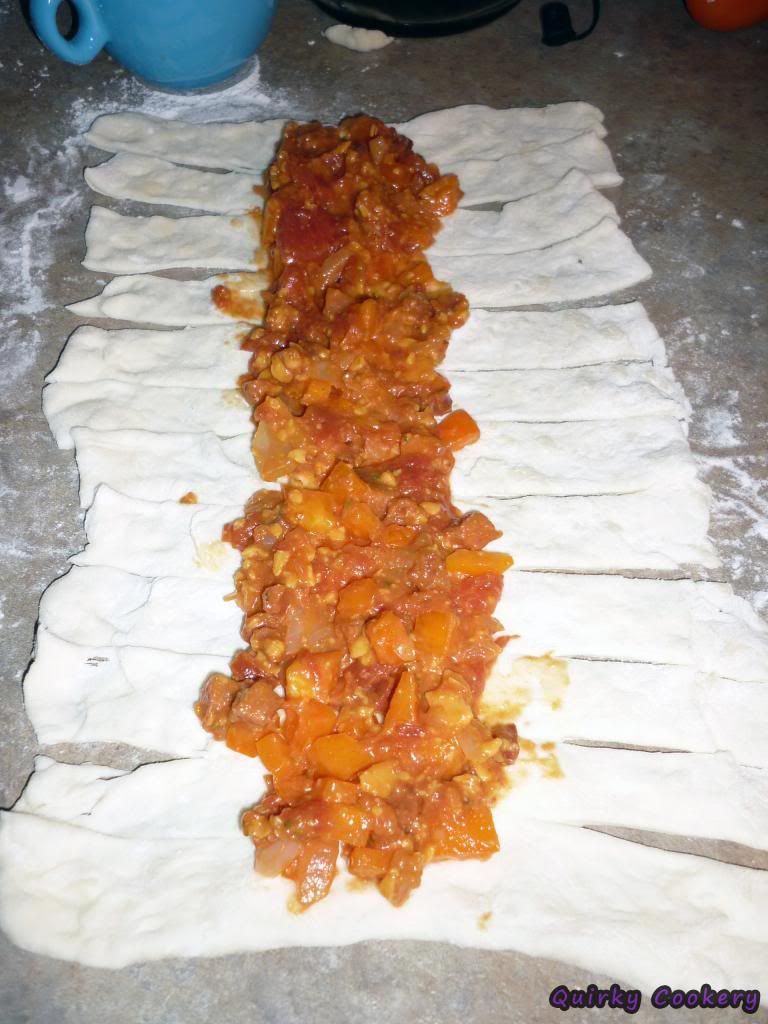
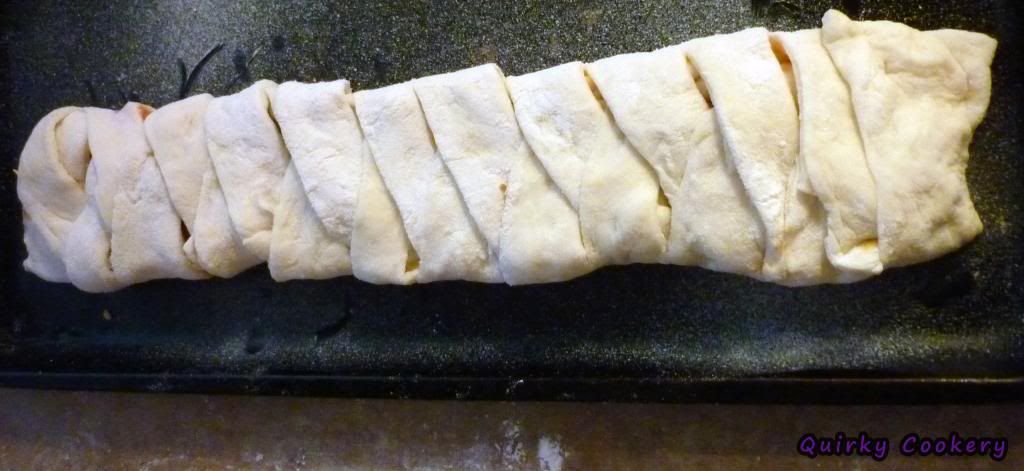
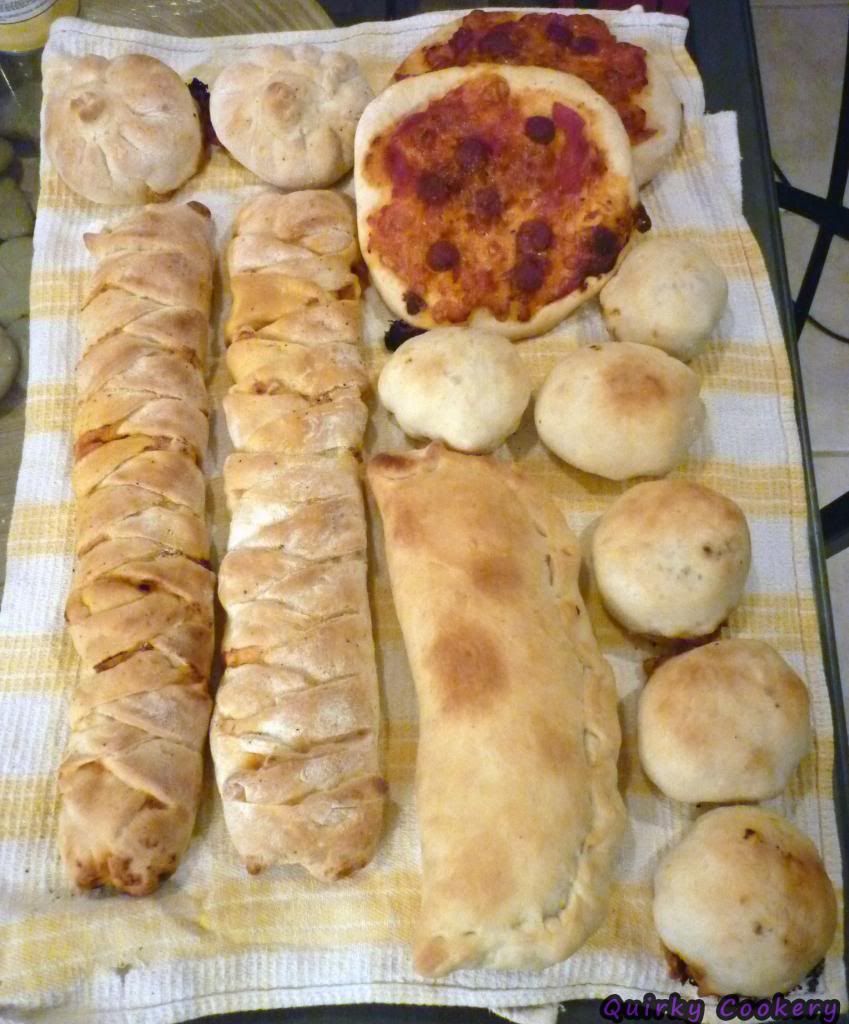
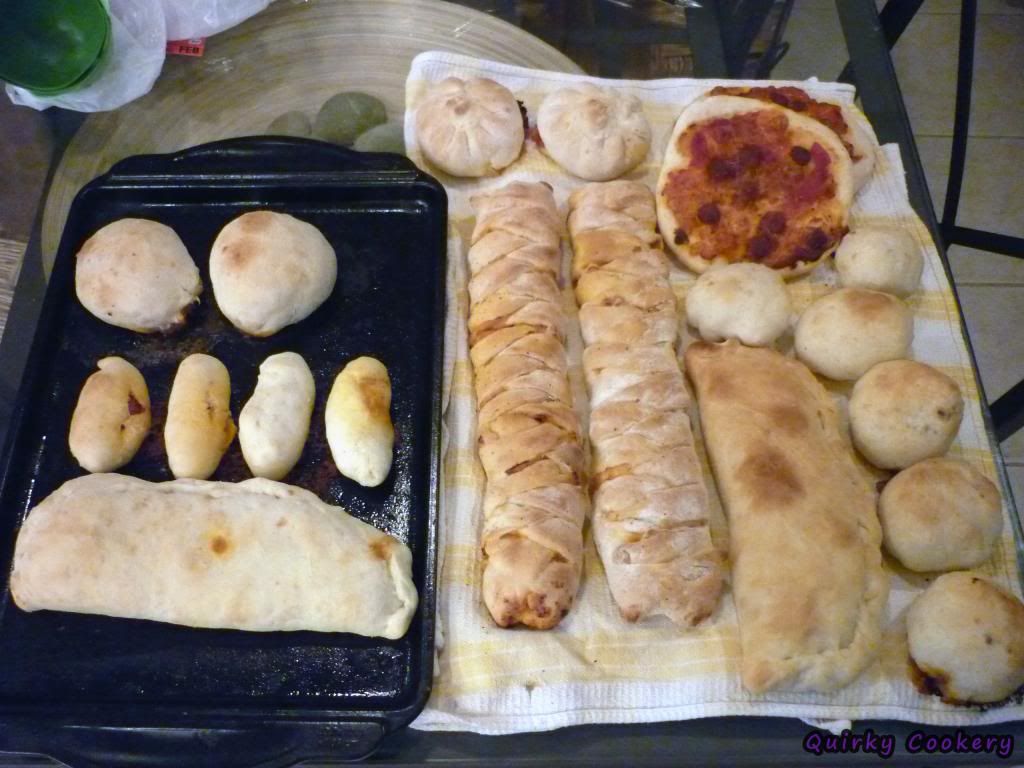
Below is an example of buying pepperoni and turning it into several different pizza pockets. My lighting was really bad in that kitchen, so I know some of it doesn’t look very appetizing, but every variation was delicious.
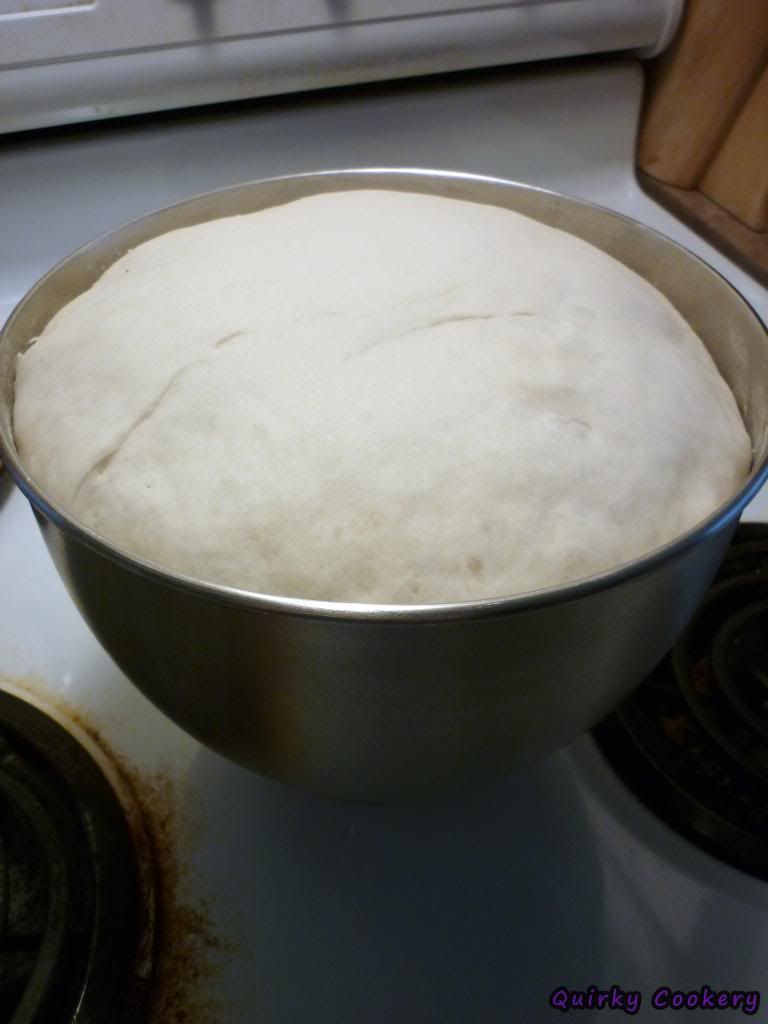
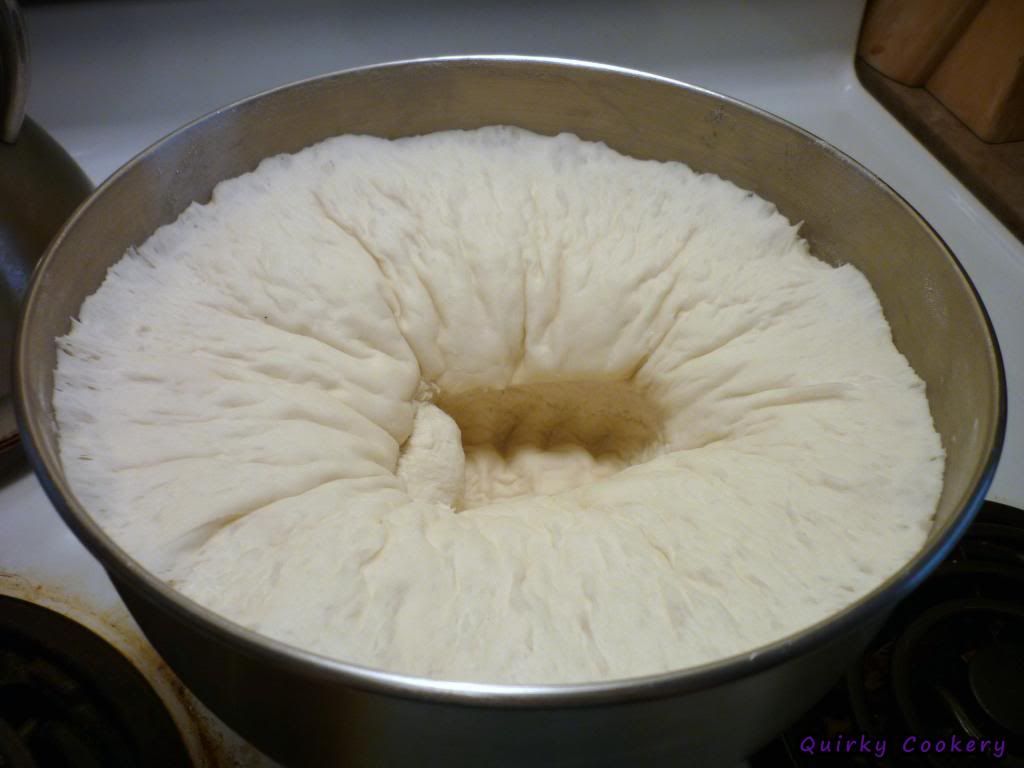
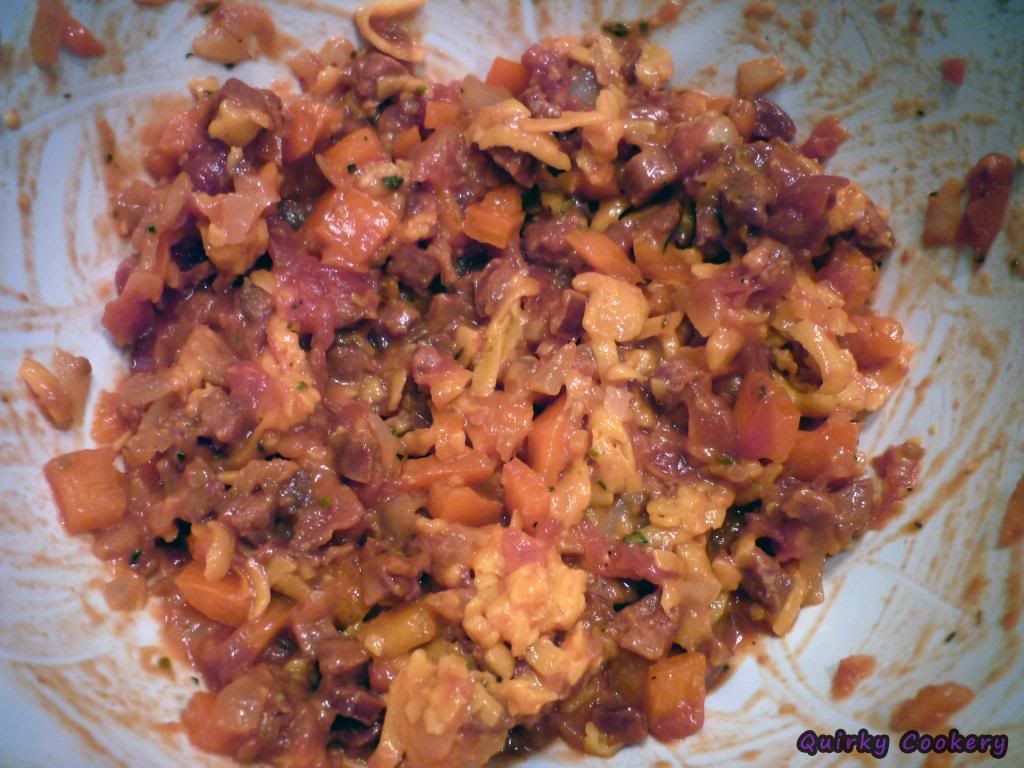
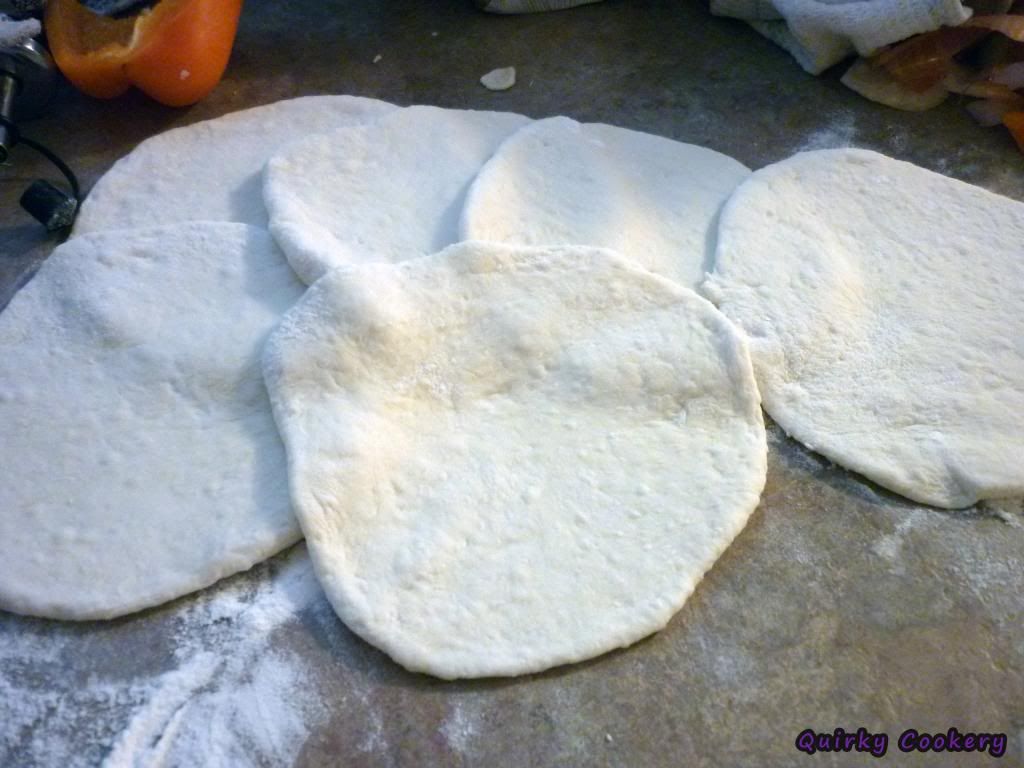
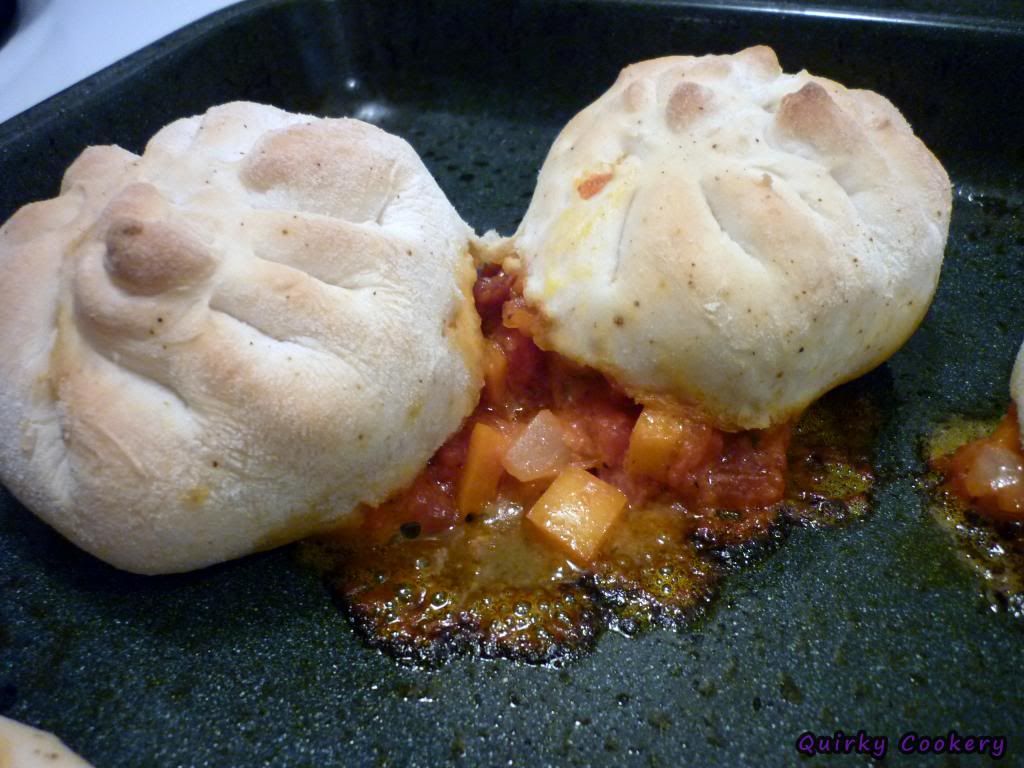
Most of the ingredients were the same… pepperoni, peppers, cheese, sauce, homemade dough…. but they were in different combinations and presentations. The braided wraps were great for dinner and midnight snacks because I could cut off whatever size I felt like. And the little “pork bun” style pockets were more perfect for tossing in a lunch bag for an easy packed lunch. The ones near the end where the pepperoni isn’t cut were a bit more similar to “pigs in a blanket” with a very strong pepperoni flavor compared to the rest.
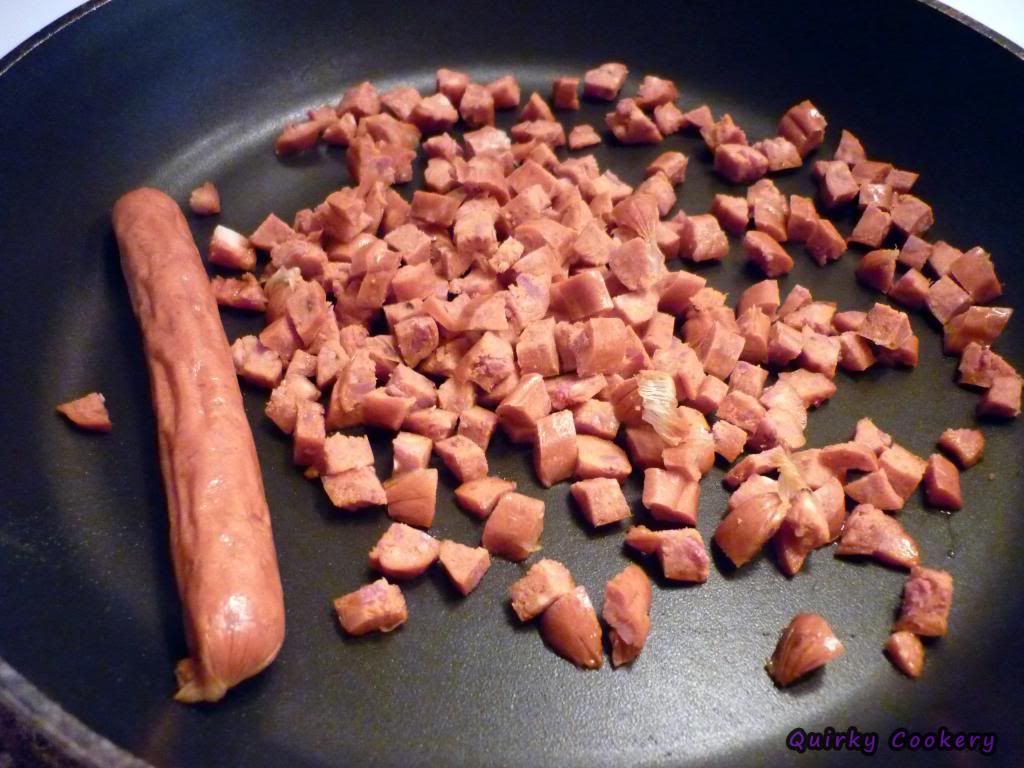
Most of these variations also would’ve been great examples of when I fry my pepperoni first. Any of them that are chopped and mixed with other ingredients would’ve been de-grease-ified a little bit first because otherwise, the filling ends up with pockets of nasty orange-ness that I’m just not too thrilled with eating.





Homemade crescent rolls stuffed with broccoli, cheese, ham
Broccoli and ham cheese stuffed crescent rolls are one of the earliest recipes I remember learning how to make.
We would’ve used canned crescent rolls, so as a kid, it was pretty easy for me to cut the packaged ham into tiny squares, shred the cheese, and mix the broccoli in with my hands.
Unfortunately, it’s also another one that I don’t have a real recipe for either. (Kinda funny how this one involves broccoli, too.)
The basic breakdown?
- A head of broccoli with florets chopped and boiled or steamed to be tender
- A couple packages of cheap ham – In terms of ham bought from the deli, I’d call it about an inch stack, diced, give or take several bites
- A half a block of cheese (about 4 oz?), shredded
- A very large squirt of mustard….plus a couple small squirts after you taste-test and realize you still want it a little tangier
Mix it all together and pile onto 8 croissant rolls, canned or homemade. If the broccoli is still a bit warm, all the better because it’ll melt the cheese some and help it stick together.


With these croissants, I put the pizza stone in the fridge while I prepared the rest of the ingredients and then worked directly on the cold surface as much as possible before putting everything in the oven.



Recent Comments